5 Common Layout Mistakes and How to Fix Them
5 Common Layout Mistakes and How to Fix Them
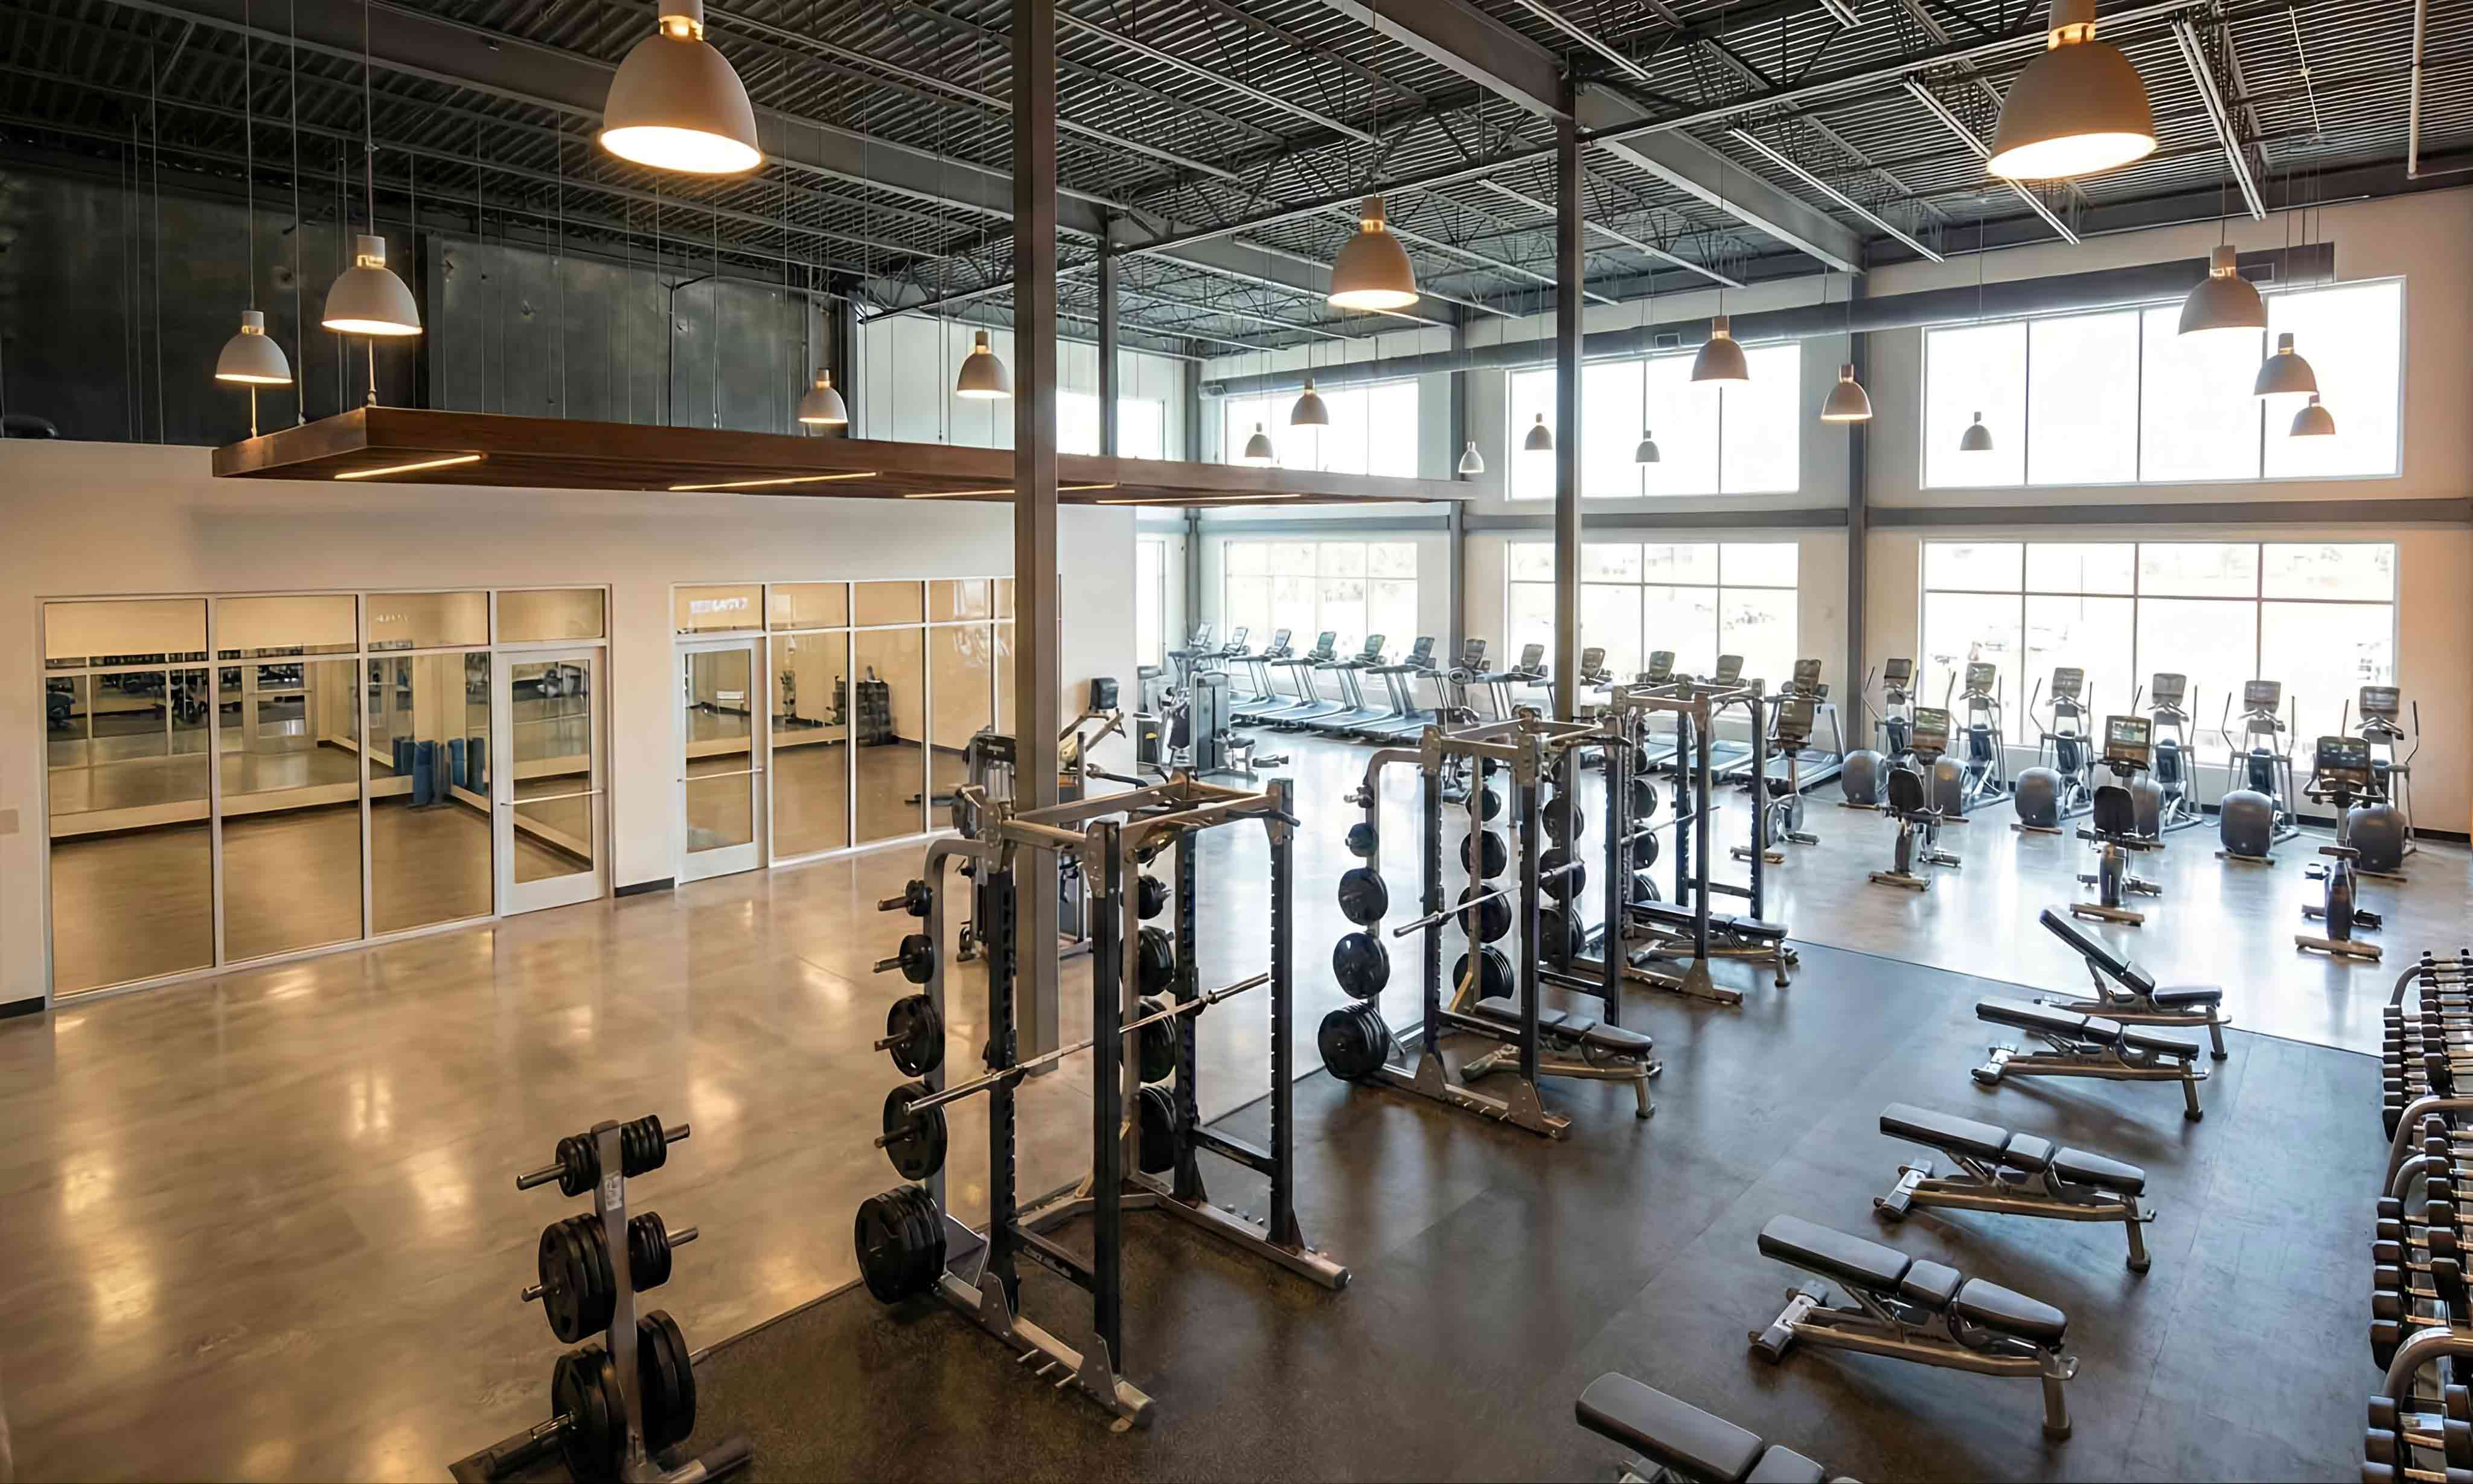
Walk into most boutique studios and you will see the same pattern repeated over and over. Equipment pushed against walls. Heavy racks blocking the entrance. Dumbbells scattered in random corners. The studio looks "organized" at first glance, but something feels off. Members hesitate when they walk in. They bump into each other during peak hours. The space somehow feels smaller than it actually is.
Here is the hard truth: 80 percent of small studios are making the same layout mistakes. Not because owners are careless, but because the mistakes feel intuitive. Our instincts tell us to push things against walls, to fill empty corners, to put the biggest equipment where it looks most impressive. All of these instincts are wrong for small spaces. They create hidden inefficiencies that cost you member satisfaction, retention, and ultimately, revenue.
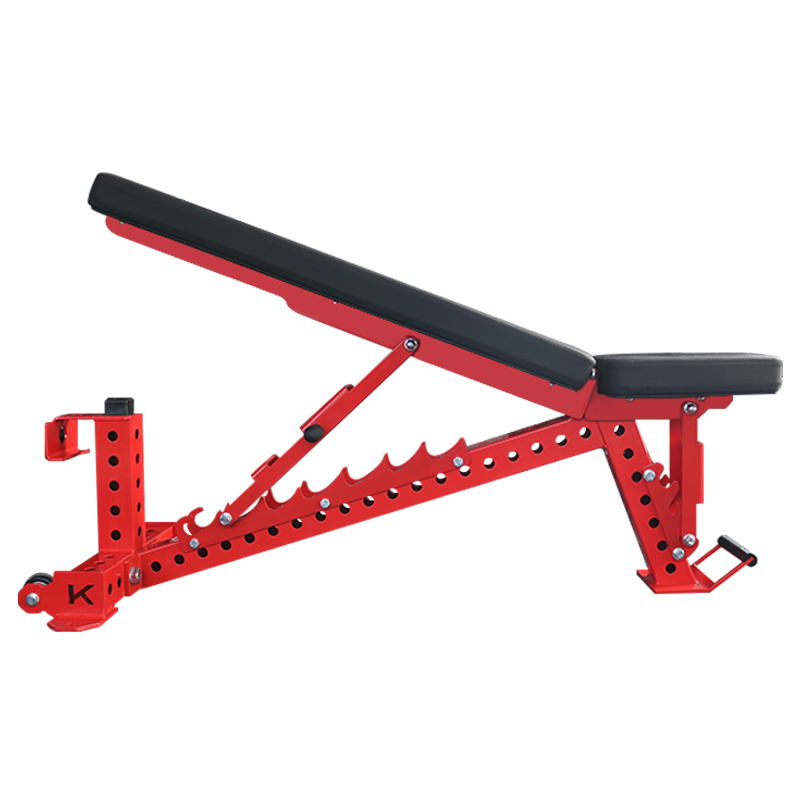
Explore the complete technical specifications:
This article breaks down the five most common layout mistakes we see in boutique studios. Each one comes with a clear fix—something you can implement in a weekend, without renovation, without moving to a bigger space, and without spending money you do not have.
Mistake #1: Pushing Everything Against the Walls
This is the most universal layout error in small studios. Walk in and you will see the squat rack against the back wall, the dumbbell rack against the side wall, the cable station tucked into a corner, and a giant empty space in the middle that nobody uses. It looks tidy. It feels like the "right" way to arrange things. It is completely wrong.
Why do we push equipment against walls? Two reasons. First, psychology. Humans have an ancient instinct to push things to the edges and keep the center clear—it is a survival mechanism designed to keep escape routes open. When you have no formal spatial design training, your gut tells you to put things against walls. Second, imitation. Most studio owners copy what they see in other studios, and those studios also have their equipment against walls. The pattern replicates itself without anyone asking why.
Here is why this is a problem. Strength training movements require space in every direction. Squats need forward and backward clearance for the lifter to step out and back in. Deadlifts need space behind for the lifter to set up properly. Overhead presses need vertical clearance and lateral space. When equipment is against the wall, the lifter faces the wall, cannot be observed from the side or rear, and often sacrifices proper form to avoid hitting the wall. It is not just inefficient—it is unsafe.
Worse, that "open" center becomes a no-man's-land. No equipment is arranged to serve it, so nobody steps into it. You end up with crowded edges and an empty middle. The studio looks spacious but feels cramped. You are paying rent for space nobody uses.
The fix: Pull equipment off the walls. A squat rack needs at least 1.5 meters of clearance behind the lifter. Place racks with their backs facing outward, not against the wall. Create a training floor where equipment is arranged around movement patterns, not around storage. The center of the studio should be active, not empty. When you rearrange, you will find that the same equipment in the same square footage suddenly feels more open—because the space is actually being used.
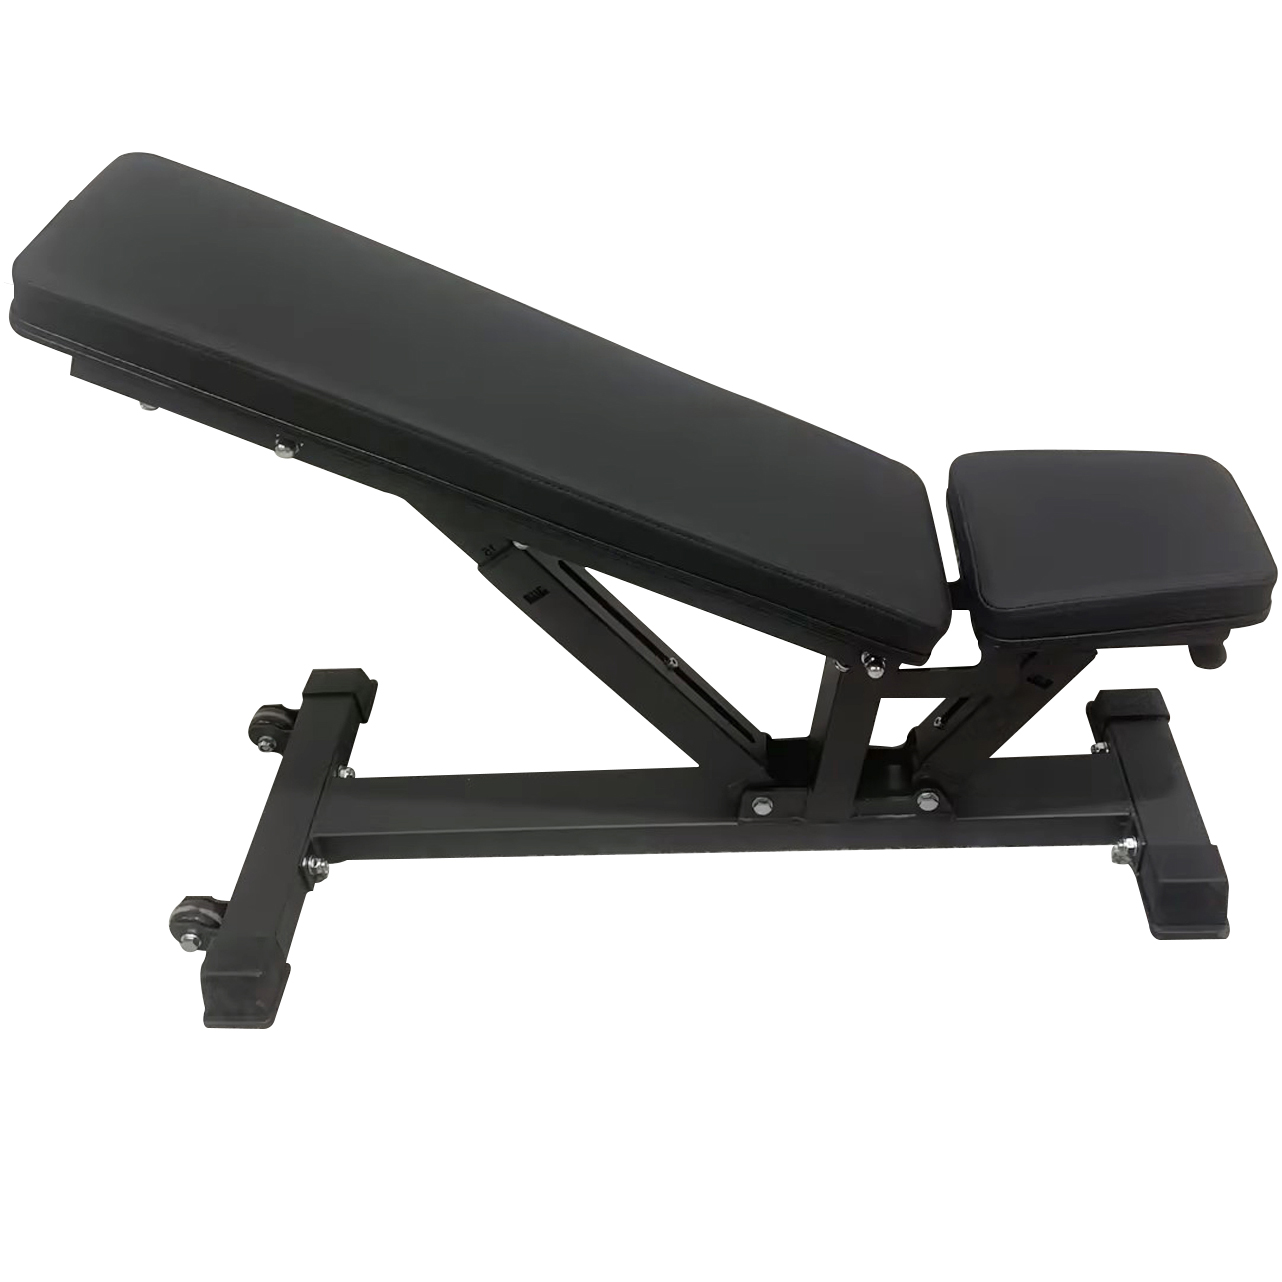
Explore the complete technical specifications:
Mistake #2: Using the Same Clearance for Everything
When owners arrange equipment, they tend to use a single spacing standard for everything. Fifty centimeters between the squat rack and the dumbbell rack. Sixty centimeters between the cable station and the bench. Every gap looks consistent, and consistency feels professional. But different exercises require different spaces. Uniform spacing is a visual preference, not a functional one.
A barbell alone is 1.2 meters wide. Add a lifter's arms and shoulder width, and the total clearance needed for a squat is at least 1.5 meters. A deadlift needs nearly 2 meters of depth for the lifter to set up and pull. A dumbbell bench press requires about 1 meter of width. A cable crossover demands a full 3 meters of width to allow full range of motion. When you apply the same 60-centimeter spacing to all these movements, you create a studio where members are constantly "holding back"—reducing their range of motion to avoid hitting the person next to them.
Members do not complain about this directly. They do not say "the spacing between equipment is insufficient for my biomechanical needs." They just feel that the workout was "not quite right" and leave a little earlier than they would have. Over time, these micro-frustrations accumulate into a decision not to renew.
The fix: Zone your space by movement type, not by equipment type. All barbell movements need the same clearance zone—approximately 1.5 meters by 2 meters per station. All dumbbell movements need a smaller zone. All cable movements need wide lateral clearance. Instead of spacing every piece of equipment evenly, group them by clearance requirement and allocate space accordingly. The visual inconsistency is worth it. Members will notice the difference in how they feel during workouts, even if they cannot articulate why.
Mistake #3: Placing the Heaviest Equipment at the Back
This mistake seems logical at first. The squat rack is big and heavy. It takes up space. Put it in the back so it does not block the entrance. The deadlift platform is bulky. Push it to the far corner. The heavy equipment should be out of the way. This logic is intuitive, and it is completely backwards.
Heavy equipment is used heavily—that is why it is heavy. Members need to access it frequently, and they need to move around it with weight on their backs or in their hands. When heavy equipment is at the back of the studio, members have to walk past every other piece of equipment to reach it. This creates traffic congestion. People entering and leaving the squat rack cross paths with people entering and leaving the dumbbell area. The conflict zone compounds during peak hours.
Furthermore, heavy equipment is a visual anchor. When members walk in, the first thing they see sets their expectation for the entire space. If the entrance opens to a clear, unobstructed view of the primary training zone, the studio feels intentional and professional. If the entrance opens to a view of the back wall or a storage rack, the studio feels confused.
The fix: Place your heaviest equipment at the front or center of the studio, not the back. The squat rack should be visible from the entrance. The deadlift platform should be one of the first things members see. This serves two purposes. First, it signals the studio's focus on strength training. Second, it places the highest-traffic equipment in the highest-visibility area, reducing walking conflicts and making the traffic flow more efficient. Members walk in, see the primary training zone immediately, and move directly to their workout without hesitation or backtracking.
Mistake #4: Blocking the Sightline from the Entrance
When a member walks into your studio, their brain makes a subconscious judgment within the first three seconds. They scan the space, assess the layout, and decide whether it feels open or cramped. If their line of sight is blocked by a large piece of equipment within the first five meters, the brain registers "cramped" even if the space is actually larger than it appears.
This is not a minor aesthetic preference. It is a survival mechanism. The brain processes visual depth as a proxy for safety and comfort. A space with deep sightlines feels safe. A space with blocked sightlines feels confining. When members feel confined, they are more likely to cut their workout short and less likely to bring friends. The studio feels "small" even when the square footage is adequate.
We see this mistake constantly. A squat rack placed in the middle of the floor, blocking the view from the entrance to the back wall. A large storage rack positioned right inside the door. A cable machine placed perpendicular to the entrance, creating a visual wall. Each of these decisions makes the studio feel significantly smaller than it actually is.
The fix: Keep the sightline from the entrance to the farthest point completely clear. No equipment taller than 1.2 meters should be placed within the first five meters of the entrance. All equipment over 2 meters tall should be against the walls, leaving the central corridor visible. If you cannot see the back wall from the entrance, your layout has a visual obstruction that needs to be moved. The moment you clear that sightline, the studio will feel 15 to 20 percent larger—without changing a single square meter of floor area.
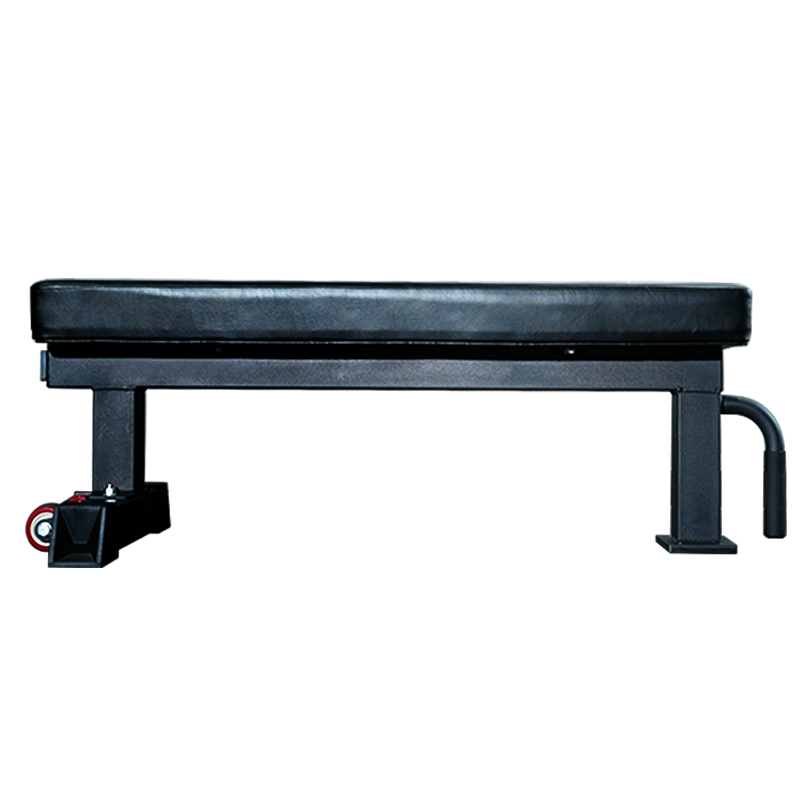
Explore the complete technical specifications:
Mistake #5: Using "Leftover" Space for Storage
This is the stealthiest of all layout mistakes. It does not look like a mistake. It looks like efficiency. You have a dead corner behind the door. You put a plate tree there. You have a gap between two racks. You slide a dumbbell rack into it. You have a narrow wall section that does not fit any equipment. You hang some resistance bands on it. Every piece of storage fits neatly into "leftover" space, and you feel like you have optimized every inch.
Here is the problem. Leftover space is leftover for a reason—it is not suitable for training. It is too narrow, too shallow, too close to a door, or too blocked by other equipment. When you put storage in leftover space, you are making the space functional, but you are also reinforcing the low-value use of that area. Members do not train there. The storage is just sitting in the way. It creates clutter, blocks movement, and cheapens the visual impression of the studio.
Worse, leftover storage is often placed in circulation paths. A plate tree behind the door forces members to squeeze past it to enter. A dumbbell rack in a gap forces members to step around it to get to another piece of equipment. Every piece of storage in a circulation path adds friction to movement. Add three or four pieces of friction storage, and the entire studio feels congested.
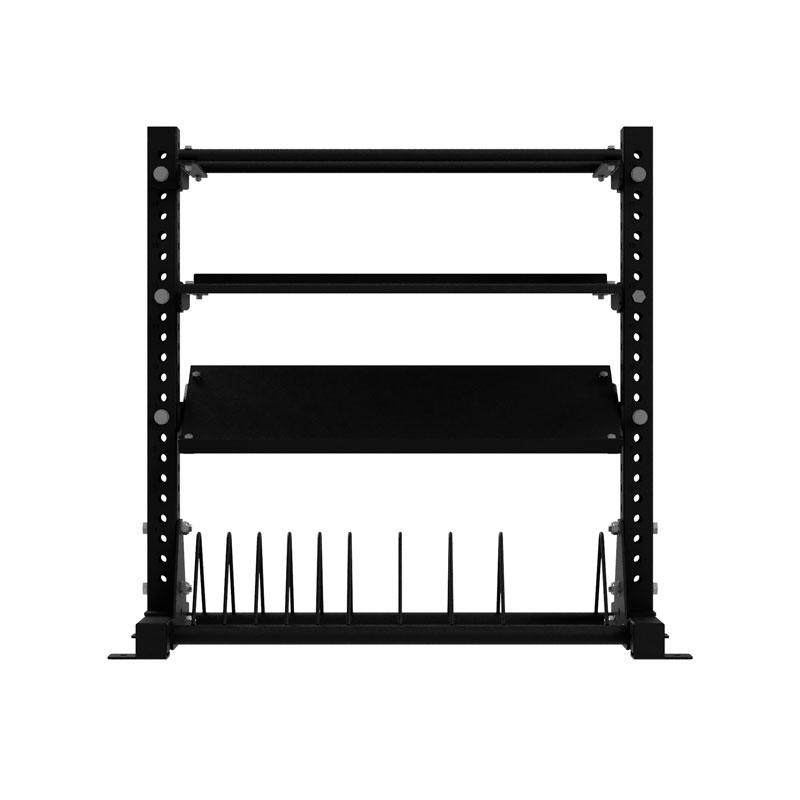
The fix: Storage should be intentional, not leftover. Move all storage to dedicated wall surfaces. Install wall-mounted plate racks. Use vertical pegboards for accessories. Put dumbbells on a rack that is placed with purpose, not squeezed into a gap. Every storage decision should be proactive—"this is where storage belongs because it is adjacent to the training zone it serves and it does not block any movement path." If storage is not intentional, it is clutter. And clutter makes a small space feel even smaller.
From Mistakes to Fixes—Your Weekend Action Plan
Five mistakes. Five fixes. Each fix is a weekend project. None require renovation, new equipment, or significant expense. Here is a step-by-step plan to address all five mistakes, one weekend at a time.
Weekend one: Clear the entrance. Stand at your entrance and look to the back. Move any equipment over 1.2 meters tall that sits within 5 meters of the door. Create an unobstructed sightline. Move the plate tree from behind the door to a dedicated wall location. This is the highest-impact change and the easiest to execute.
Weekend two: Pull equipment off the walls. Choose your three most-used equipment stations—probably the squat rack, the cable station, and the dumbbell area. Reposition them so they are at least 1.5 meters from any wall. You may need to adjust spacing, but the goal is to create active training space in the center, not passive storage along the edges.
Weekend three: Rezone by clearance need. Group equipment by the clearance required for each movement type. All barbell movements together in a 1.5m x 2m zone. All dumbbell movements together in a smaller zone. All cable movements together with wide lateral clearance. The layout will look different—less uniform, more functional. That is the point.
Weekend four: Move heavy equipment forward. If your squat rack is at the back, move it to the front. Put the heavy equipment where members can see it immediately. This will shift traffic patterns and reduce congestion. It will also make the studio look more serious about strength training.
Weekend five: Wall-mount all storage. Identify every floor-standing storage item in the studio. Plate trees, dumbbell racks, band pegs. Move all of them to wall-mounted alternatives. If you do not have wall-mounted storage, buy or build it. The investment is minimal compared to the floor space recovered. After this weekend, your studio will have more usable floor space than you thought possible.
Each weekend is independent. You do not need to do all five. Pick one. Execute it. Observe the difference. Then decide if you want to continue. Most owners who start with weekend one end up completing all five because the results are visible immediately.
Explore the complete technical specifications:
The Cost of Doing Nothing
It is easy to read an article like this and think, "my layout is fine the way it is." But consider the hidden costs of the status quo. If your layout has two or more of these mistakes, you are losing money every month. You are losing members who feel cramped or confused. You are losing referrals because members do not bring friends to a studio that feels chaotic. You are losing revenue per square foot because space that should be active is passive.
If your layout mistakes cost you just one member per month at 800 yuan per month, that is 9,600 yuan per year. If they cost you two members, that is nearly 20,000 yuan per year. The weekend effort to fix these mistakes is essentially free. The cost of not fixing them compounds every month.
We have worked with studios that implemented all five fixes over a two-month period. Average space utilization improvement: 18 percent. Average member satisfaction increase: 21 percent. Average renewal rate increase: 12 percent. These numbers are not theoretical. They come from studios that moved equipment, cleared sightlines, and wall-mounted storage—without moving to a bigger space.
So here is the real question. Not "which mistake am I making?" but "what is it costing me to keep making it?" The answer is more than you think. And the fix is less work than you imagine.