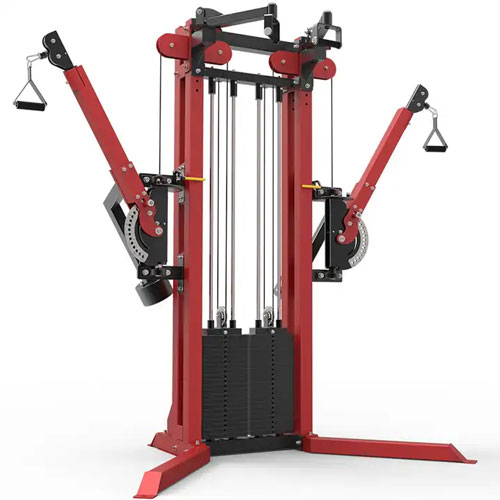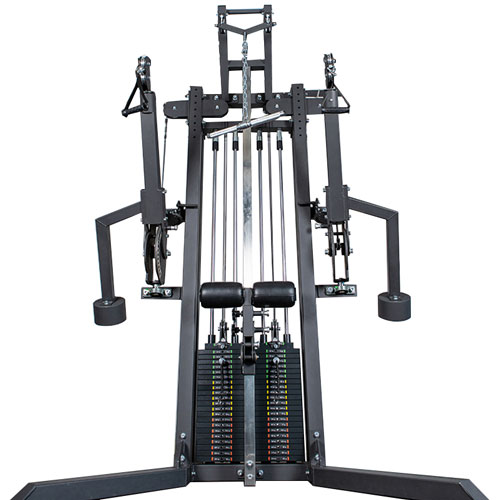
The Cable Crossover Machine 2.0 KP3002B is a dual-function cable machine designed for commercial gyms and functional training facilities. Featuring dual 100kg selectorized weight stacks (21+1 plates at 10LB per plate) on each side, this machine provides independent resistance for both arms. The multi-angle swinging arms with balance arm adjustment allow easier operation and precise positioning for a wide range of cable exercises.
The machine also includes an added lat pulldown function, making it a versatile training station for back development, chest flyes, shoulder work, and core rotations. 2 cable handles are included as standard accessories.
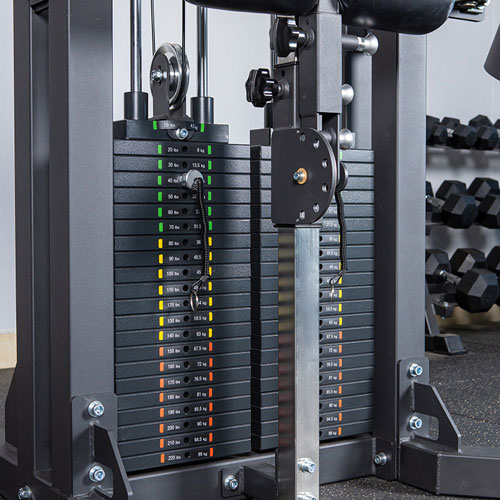
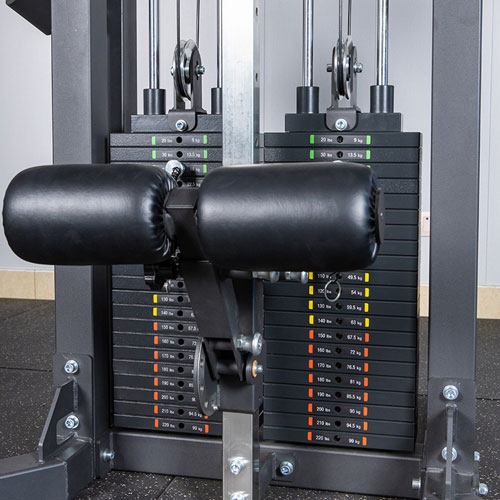
Each side of the machine features a 100kg selectorized weight stack (21+1 plates at 10LB per plate). The dual independent stacks allow:
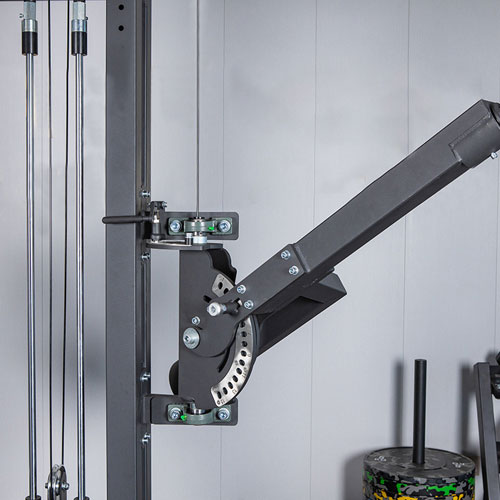
The multi-angle swinging arms provide a wide range of motion for various cable exercises. The balance arm adjustment feature makes operation easier by helping to position the arms smoothly. This allows users to quickly switch between exercises such as:
The machine includes an added lat pulldown function, transforming it into a complete back training station. This feature allows users to perform:
This multi-functionality eliminates the need for separate machines, saving valuable floor space in commercial gyms and home training areas.
The machine comes with 2 cable handles for immediate use. Additional attachments such as straight bars, triceps ropes, V-grip handles, and ankle straps can be added for expanded exercise variety.
This cable crossover machine is suitable for:
Customized logo is available for gym branding. OEM orders are accepted for custom colors and logo placement.
| Specification Category | Technical Details |
|---|---|
| Product Name | Cable Crossover Machine 2.0 (KP3002B) |
| Weight Stack (per side) | 100kg Selectorized Weight Stack (21+1 plates, 10LB/plate) |
| Adjustable Arm | Multi-angle swinging arm with balance arm adjustment for easier operation |
| Features | Includes lat pulldown function |
| Included Accessories | 2 cable handles |
| Logo Customization | Customized Logo Available |
| OEM | Accept OEM Orders |